How to Build a Swimming Pool with Concrete: Our Step By Step Guide
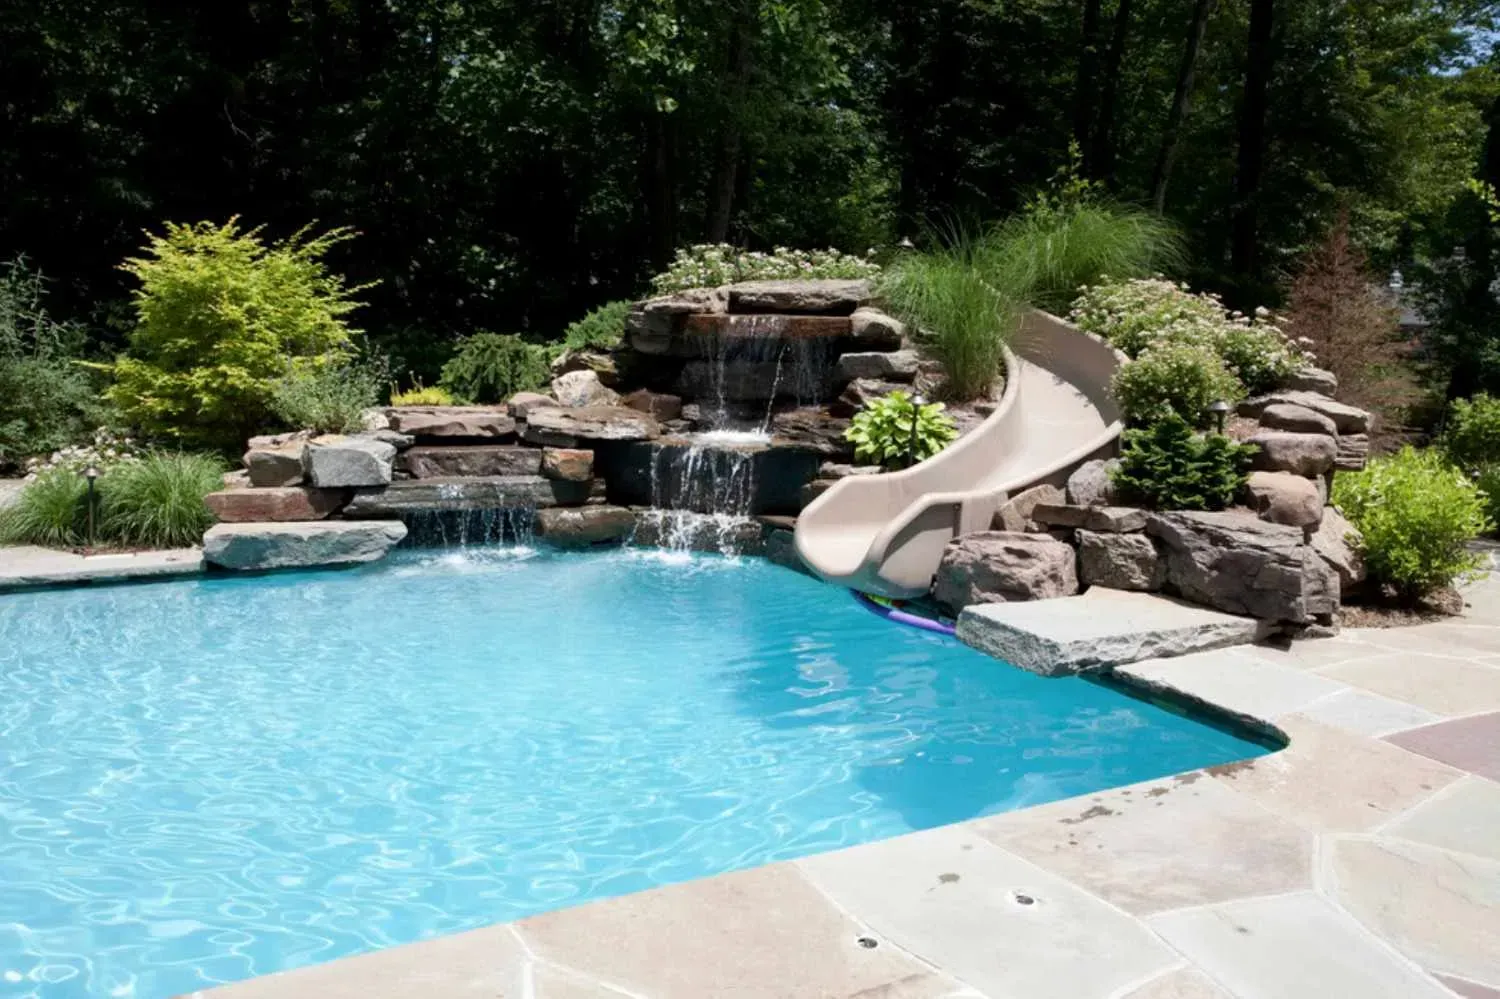
If you're dreaming of a beautiful, durable, custom swimming pool for your backyard in Brisbane, the Gold Coast or across South East Queensland, a concrete pool is one of the best investments you can make.
At JKO Pool Construction, we specialise in designing and building bespoke concrete pools that stand the test of time, and in this guide we’ll walk you through the major steps and considerations.
While building a concrete pool is a complex process requiring skilled tradespeople, understanding the workflow helps you make informed decisions, track progress, and know what questions to ask.
Why Choose a Concrete Pool?
Before digging in, it helps to understand what makes concrete pools a popular choice:
- Fully customisable shape and size – unlike off-the-shelf fibreglass shells, concrete lets you design very flexible layouts, depths, curves, steps, ledges, etc.
- Durability and longevity – with proper construction, maintenance and periodic resurfacing, concrete pools can last decades.
- Renovation potential – you can resurface or refinish concrete pools to update the look later.
- High perceived value – a well-executed concrete pool can enhance your property’s appeal.
Of course, building a concrete pool also has challenges: more upfront cost, longer construction time, and careful waterproofing and finishing requirements. That’s why it’s critical to follow a disciplined process.
Step 1: Initial Planning & Site Assessment
1.1 Client Brief & Vision
This is where we get together with you (the client) to clarify your vision:
- What shape, size and depth do you want?
- Are there features you’d like (e.g. spa, tanning ledge, steps, benches)?
- What kind of finish do you prefer (plaster, pebble, exposed aggregate, tile)?
- What is your budget range and timeline?
- What pool equipment, lighting, automation, heating, filtration systems do you want?
1.2 Site Visit & Survey
Next, our team will inspect your property:
- Check the soil type, drainage, slope, access for machinery, overhead power lines, proximity to trees, boundary setbacks, and other obstacles.
- Confirm existing services (gas, water, stormwater, sewer) and whether relocations are needed.
- Map out where cut/fill will be required, where spoil will go, where machinery will stand.
- Take accurate levels, measure dimensions, and establish control points.
1.3 Engineering & Structural Design
Because concrete pools must carry loads, resist ground pressure, and handle water pressure, we engage structural engineers to produce detailed plans, reinforcement schedules, and certification. This ensures your pool will meet safety and regulatory standards.
1.4 Permits & Approvals
In Queensland, you may need council approvals, building permits and compliance with fencing and safety regulations. The engineering plans are submitted to the relevant authority. At JKO, we assist with the paperwork so the process is smoother for you.
Step 2: Excavation & Groundworks
2.1 Marking Out & String Lines
The pool’s footprint is marked on site, with batter lines and reference points. String lines and pegs help guide the excavation to the correct shape and depth.
2.2 Bulk Excavation
Using earthmoving machinery (excavator, bobcat, etc.), we excavate the full extent of the pool including the shell, steps, benches, ledges, and oversize “form allowance” space around. Spoil is removed or used for fill elsewhere.
2.3 Trench for Plumbing & Services
Before further structural work, trenches are dug to accommodate underground plumbing (inlets, returns, drains), electrical conduits, and any oversize pipe work. These must be correctly pitched and backfilled with compaction.
2.4 Prepare the Base
Once excavation is done, the base is leveled and trimmed. A layer of compacted granular fill or lean mix concrete (blinding concrete) may be laid to provide a stable working base, free of voids or soft spots.
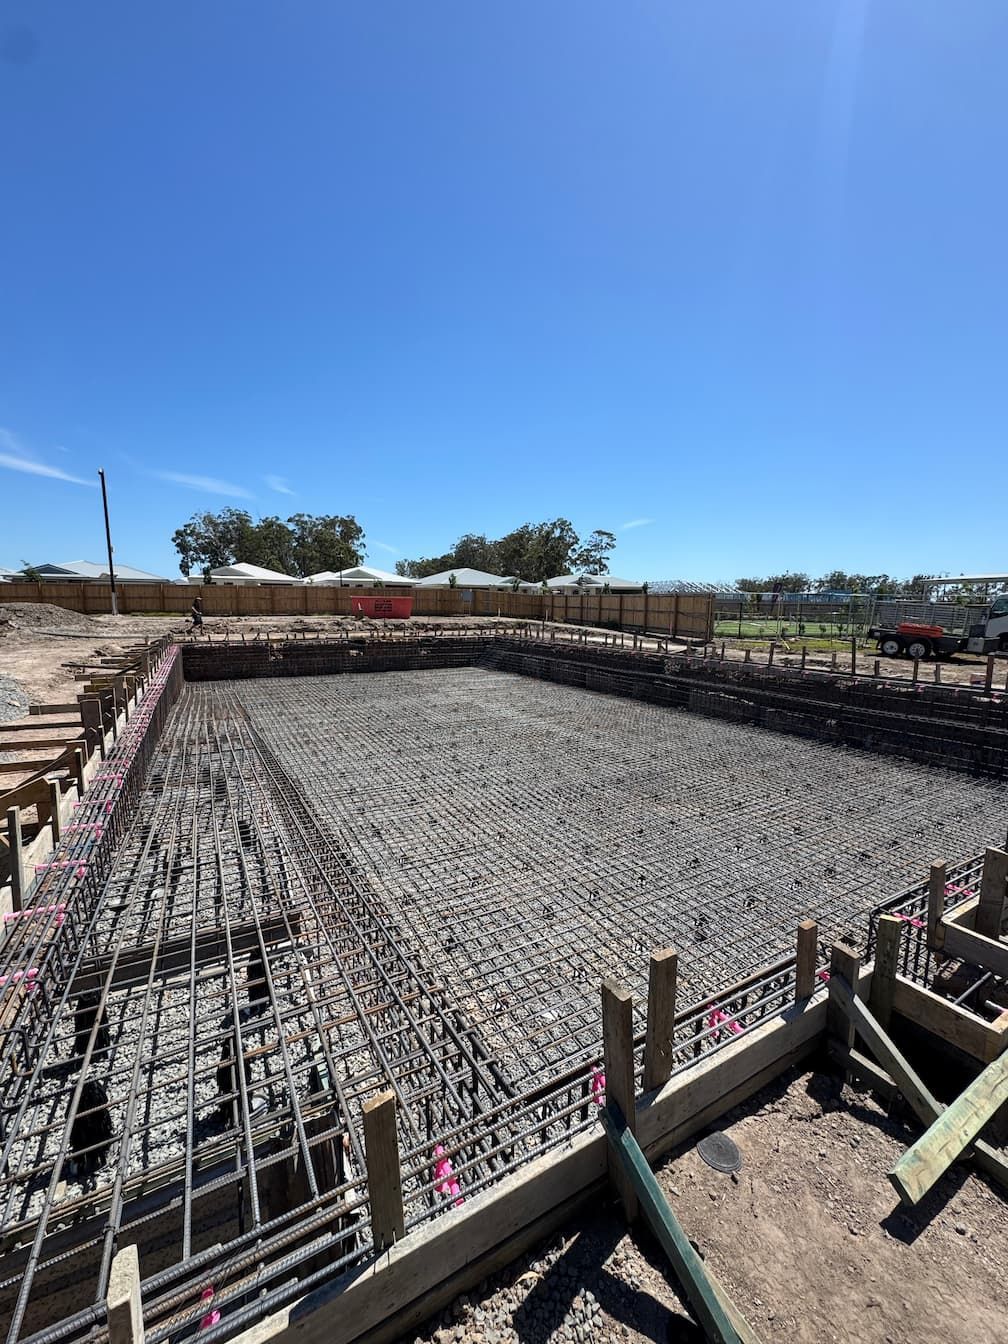
Step 3: Reinforcement & Formwork
3.1 Install Steel Reinforcement (Rebar)
Steel reinforcement is placed per the engineer’s drawing. This generally includes:
- A welded or tied mesh of longitudinal and transverse bars
- Vertical bars (for walls) and horizontal bars (for jacket beams, bond beams)
- Additional reinforcing around openings, corners, steps, beam edges, etc.
- Chairs, spacers or bar support to maintain correct cover to the form face
This step is critical: poor reinforcement leads to cracks, structural weakness, or failure.
3.2 Formwork / Concrete “Shooting Boards”
Formwork is installed at the edges, walls, and where necessary to retain concrete until it cures. In many modern concrete pool systems, rather than full timber formwork, “shooting boards” or “slip boards” (temporary guides) may be used to help control wall thickness and alignments. All formwork must be rigid, well-braced, and dimensionally accurate.
3.3 Plumbing Sleeves & Embedment
Before pouring, embedded items such as pipes, plumbing sleeves, electrical conduits, sockets, and rebates need to be placed and secured in the correct positions. All pipe penetrations must be watertight or allow later sealing.
Step 4: Concrete Pouring
4.1 Pre-pour checks
Before the concrete arrives:
- Confirm all reinforcement is in place and tied
- Double-check plumbing, sleeves, embeds, and form alignment
- Confirm access and logistics for the concrete truck / pump
- Check weather forecast (avoid heavy rain)
- Ensure formwork is clean, wet (pre-dampened) to minimise suction
4.2 Pouring & Compacting
Concrete is poured into the form, usually pumped in for efficiency. As the concrete is placed, it must be compacted (e.g. by internal vibrators) to remove voids and consolidate it fully around reinforcement. During the pour, ensure even distribution and avoid cold joints. The walls, floor, steps and ledges are poured in succession as specified by the engineering plan.
4.3 Strike & Screed
Once the concrete is placed, it’s struck off (levelled) using straight edges or screeds to achieve the desired tolerances. The walls and floor level must be consistent and accurate to grade. At times, “screed guides” or rails help.
4.4 Finishing the Surface
After initial setting, the surface is floated to bring the cream (cement paste) to the surface. Any needed corrections to levels or small hollows are repaired. At this stage, you may apply surface texture (e.g. broom finish) or smooth finish depending on the final finish type.
4.5 Curing
Proper curing is vital to avoid shrinkage cracks and ensure full strength development. Methods include:
- Moist curing (wet hessian, mist sprays)
- Covering with curing compound or plastic sheeting
- Ensuring concrete remains damp for a minimum period (often 7 days)
Never let new concrete dry out prematurely.
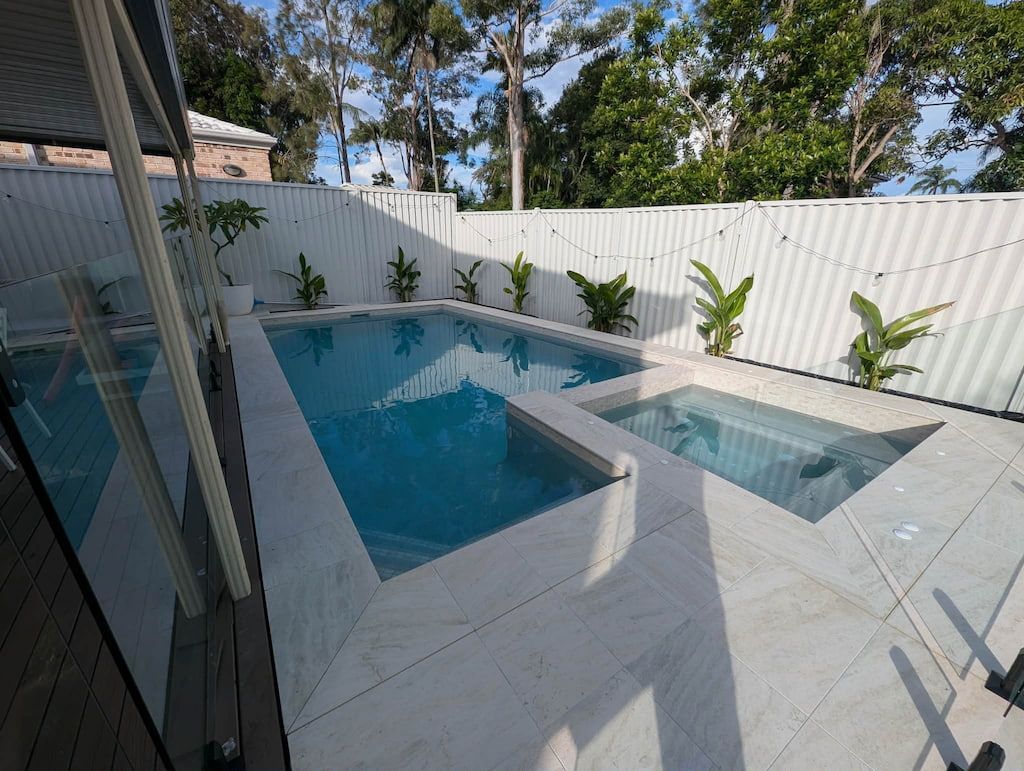
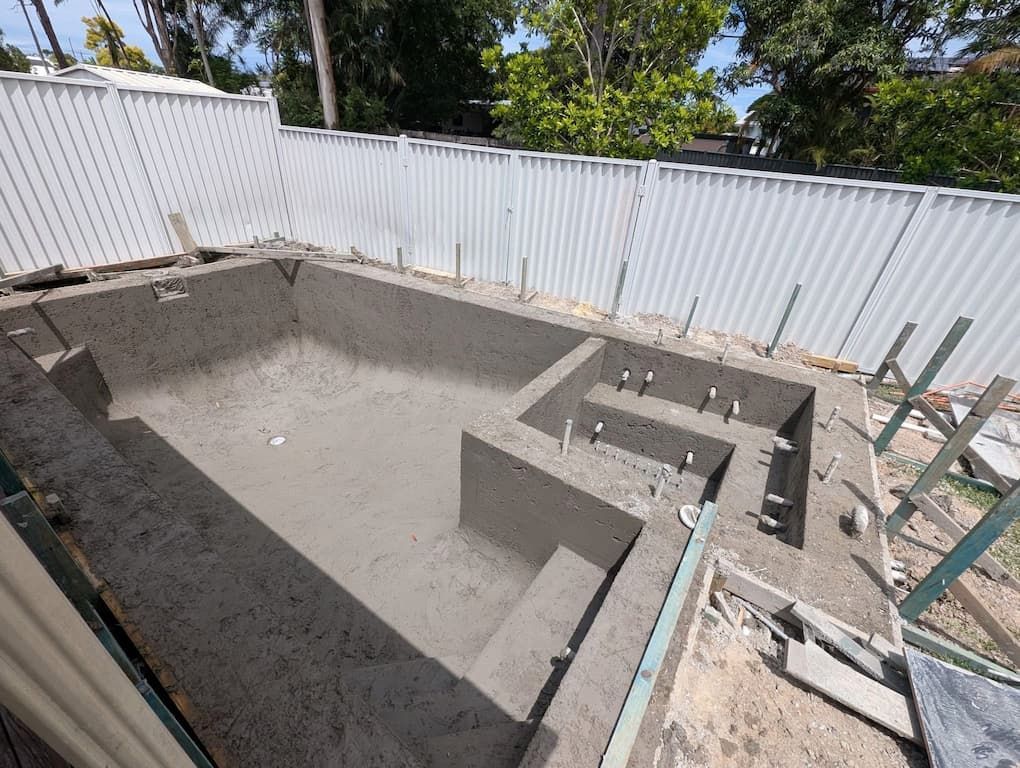
Step 5: Waterproofing & Tiling / Finish
5.1 Surface Preparation
After curing, the raw concrete shell must be prepared. This may involve grinding edges, cleaning surfaces, filling minor defects, and ensuring the shell is ready for waterproofing.
5.2 Waterproofing Layer
This is one of the most critical steps. A suitable waterproofing membrane or coating (e.g. cementitious waterproofing, elastomeric membranes, crystalline waterproofing systems) is applied to the shell. All joints, pipe penetrations, changes of plane, and corners are treated carefully with sealants, flashing, or reinforcing mesh. The goal is to prevent leaks.
5.3 Tiling / Finishes
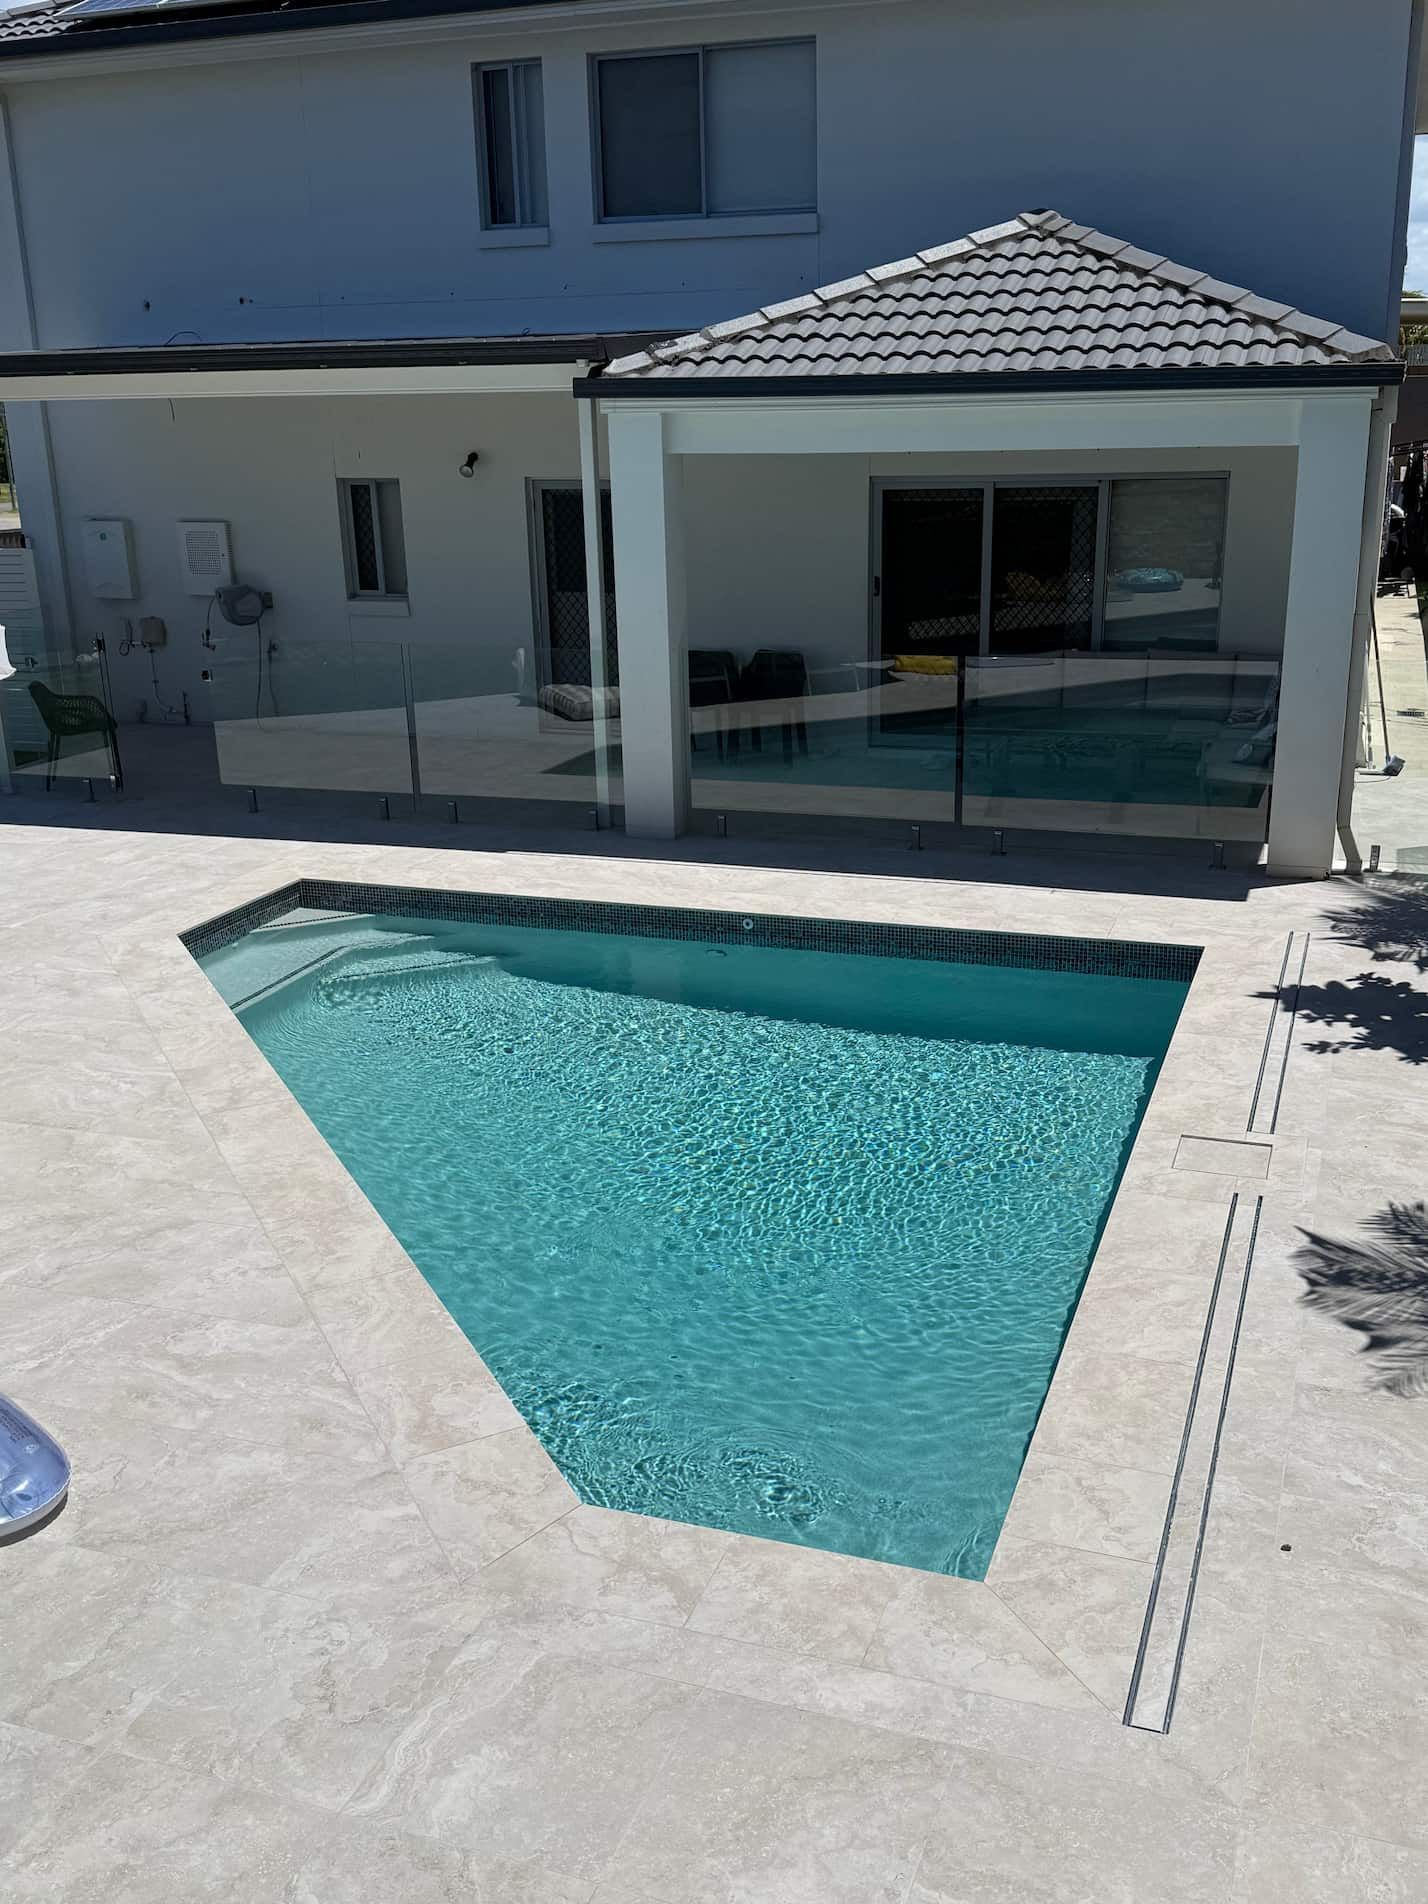
Once waterproofed, the pool finish is applied. This might be:
- Full tile lining
- Ceramic or porcelain tiles at waterline
- Pebblecrete / aggregate finishes
- Polished plaster or quartzishes surfaces
- Mosaic inlays or feature tiles
Any tiling must allow for movement joints, and must be compatible with the waterproofing system underneath.
5.4 Contraction & Expansion Joints
In larger pools or where there are large spans, contraction joints may be provided. These joints (sealed with flexible sealant) allow for minor movement without cracking the shell.
Step 6: Equipment, Plumbing & Commissioning
6.1 Install Plumbing & Filtration Systems
Install pump, filter, chlorinator / sanitizer system, heater, valves, returns, skimmers, drains, lighting conduits, and any automation gear as per design. All pipework must be pressure tested (e.g. hydrostatic test) before commissioning.
6.2 Backfilling
With plumbing and embedments in place, backfill zones around the shell using suitable granular material, compacted in layers to avoid settlement. Provide drainage behind walls if required (weeping tile, drainage matting).
6.3 Electrical & Lighting
Ensure all electrical wiring, connections, safety switches, earthing/grounding, pool lighting installations (in-pool and perimeter) meet Australian electrical standards (AS/NZS). Engage a licensed electrician to complete this work.
6.4 Filling & Balancing Water
Begin filling the pool gradually. As it fills, monitor for leaks, check pipe connections, and ensure all plumbing is sound. Once full, test water chemistry: pH, total alkalinity, calcium hardness, sanitizer levels, etc.
6.5 Commissioning & Handover
Finally:
- Run the pump / filtration system and monitor performance, pressure, flow rates.
- Explain operation, maintenance, cleaning regimes, and troubleshooting with the owner.
- Clean and present the pool ready for use.
- Provide documentation, manuals, warranties and engineering certification as required.
Step 7: Maintenance & Long-Term Care
Even with the best construction, a concrete pool requires ongoing care:
- Monitor water balance regularly (pH, alkalinity, hardness, chlorine)
- Avoid harsh chemicals or extreme adjustments that may damage finishes
- Perform regular cleaning, vacuuming and filter backwash
- Inspect joints, tile grouts, movement joints, and touch up if needed
- After ~10–20 years or more, plan for resurfacing or relining to refresh the shell
With proper care, your concrete pool can continue to perform beautifully for decades.
Common Challenges & Tips
- Cracking – shrinkage cracks can appear if curing or control joints are inadequate.
- Leaks at penetrations – plumbing sleeves or electrical conduits must be sealed correctly.
- Cold joints – avoid interruptions during pour; if inevitable, use keyed joints or bonding agents.
- Uneven compaction – voids under floor or walls will weaken the shell.
- Poor surface finish – flaws in screeding or finishing translate into visual defects in the final finish.
- Poor waterproofing adhesion – incompatible substrates or improper prep can lead to delamination or leaks.
To mitigate these, always engage qualified trades, follow engineering specs, and use quality materials.
Why Choose JKO Pool Construction for Your Concrete Pool?
At JKO Pool Construction, we bring over 16 years of combined experience building custom concrete pools across the Gold Coast, Brisbane, and South East Queensland. We manage the full journey—from site assessment, engineering, permits, construction, to handover—ensuring you get a durable, beautiful pool that suits your lifestyle and budget.
Our commitment to quality means:
- Precision in excavation, reinforcement layout, pouring and curing
- Use of premium waterproofing membranes and finishes
- Certified structural engineering to ensure long-term stability
- Upfront transparency with quotes, timelines, and communication
- Aftercare and guidance during maintenance
If you’re ready to transform your backyard with a custom concrete pool on the Gold Coast, get in touch with us for a free site visit and quote.
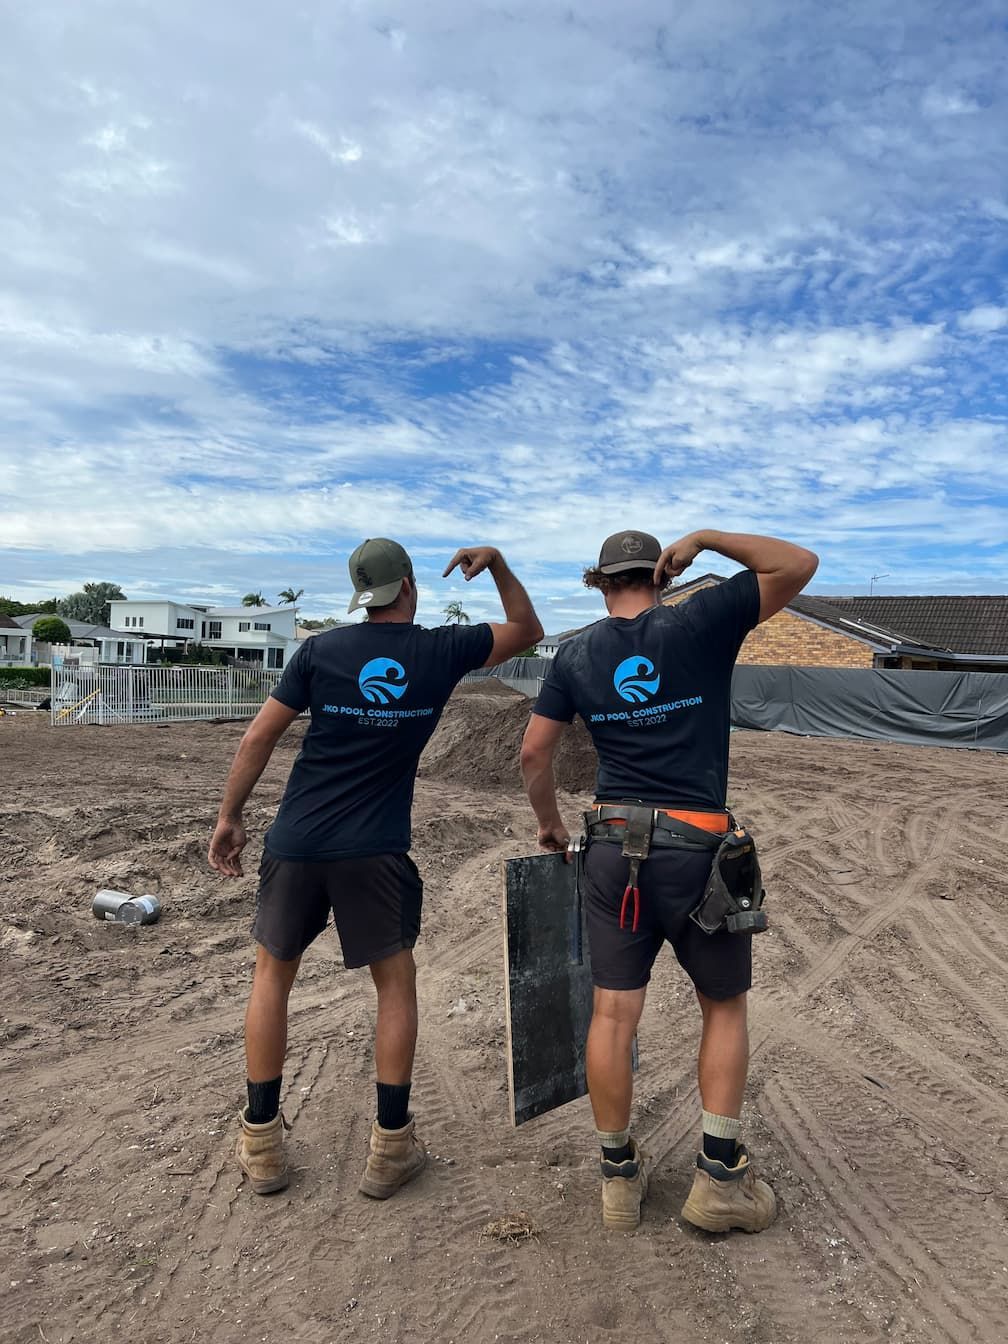
Written By Blake & Josh
With a combined 16 years of hands-on experience, we pride ourselves on delivering pools built to the highest standard.